A great way to make your content engaging is by adding photos and screenshots for visual representations of the information you are teaching your trainees. 📸 Check out the process below and...

📝 Please note: Only content creators will have access to this feature. For more specifics around which pieces of content your teammates can see and update, review their current permissions and subject content access levels.
To embed an image from your computer:
-
Navigate to the "Content" page from the left-hand menu.
-
Open your step by locating it from within the tab and under the subject where it currently "lives" — Company, Policies, or Processes.
-
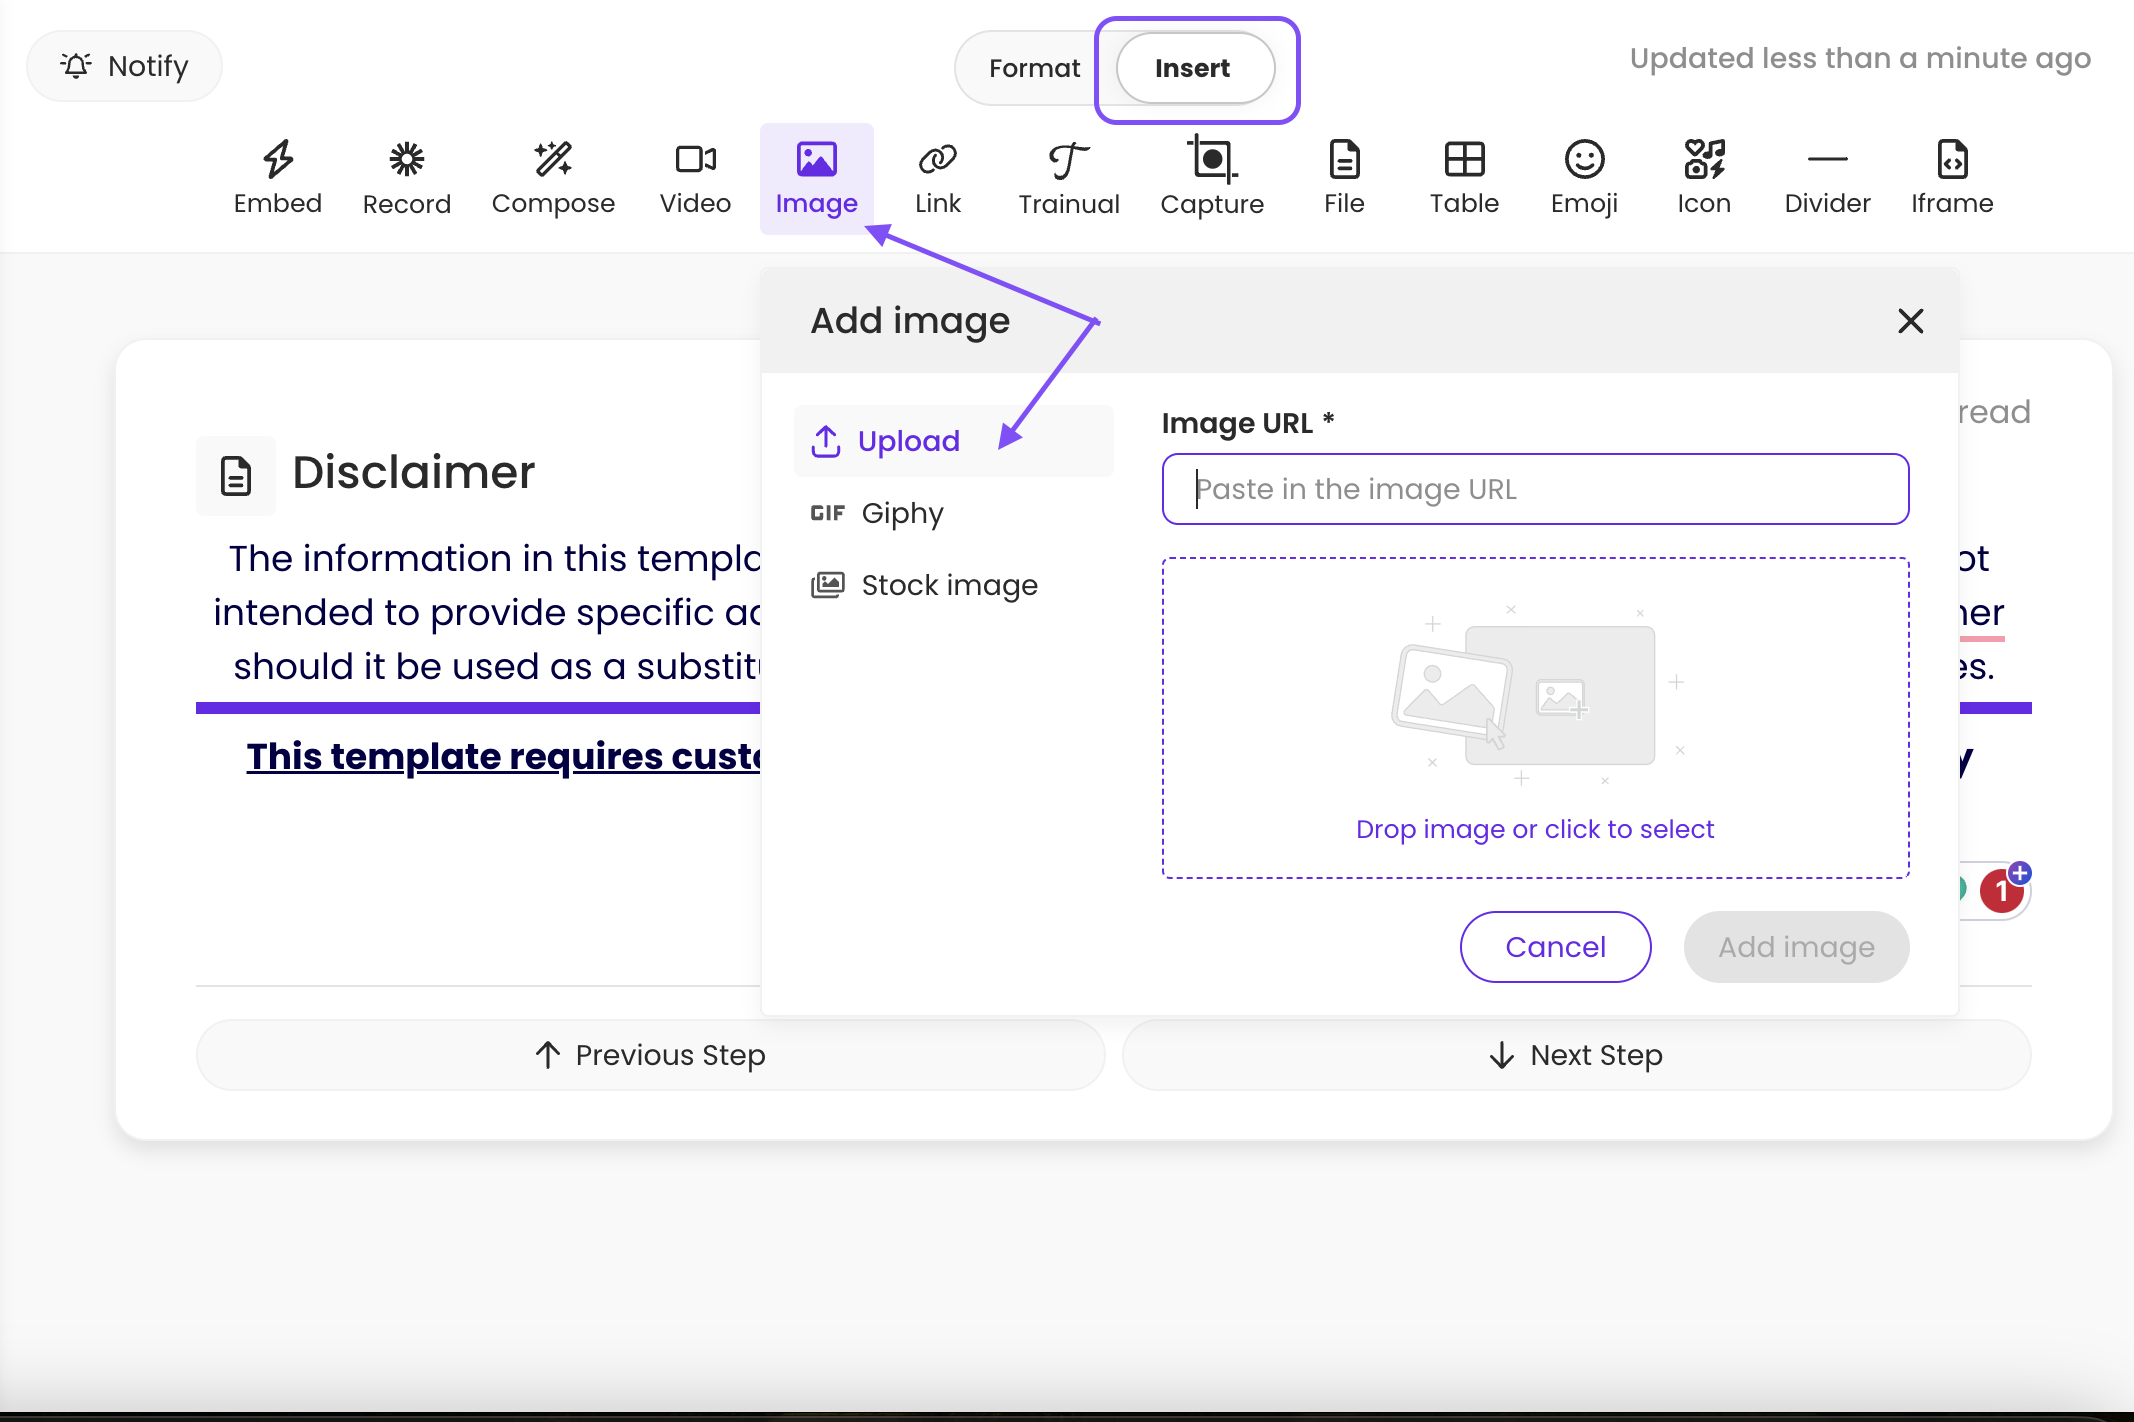
Toggle over to the "Insert" viewing page on your step.
-
Click on the "Image" icon.
-
Paste your externally hosted image URL link into the textbox or use the "Drop image or click to select" box to upload an image from your desktop.
-
Hit the "Add image" button to apply it to your step! 🤩
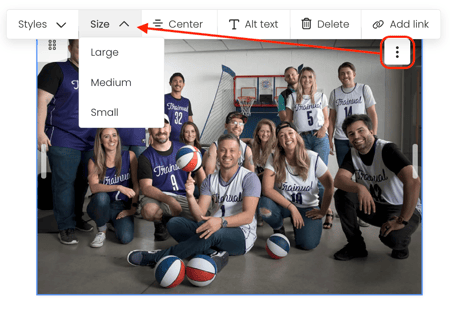
To resize your image:
Simply click on the image you've just inserted and "grab" the edges to pull the image inward to make it smaller or pull it outward to make it bigger.
Or, click on the image, then hit the three dots in the upper right-hand corner to open an editing menu. You'll have the ability to default the image to display at a small, medium, or large-sized level.